

How To Add Rulers In Canva
Uggh! I hate working with lines and everything that needs to be evenly spaced from each other.
Though it may sound like a piffling problem, making sure everything on my design's evenly spaced is my ultimate waterloo.
Sure, I can try the eyeballing method and other methods on how to evenly infinite elements in Canva , but won't it be easier if the graphic tool's got some rulers?
If I haven't been exploring Canva'south features, then I wouldn't notice that the graphic tool's already incorporated my silent wish.
Then, let's larn in detail how exactly can you make rulers appear on Canva, and how yous tin employ them during the designing procedure.
How to Show Rulers in Canva
To testify rulers in Canva, head over to the File push button on the bill of fare bar. Select the Bear witness Rulers option on the dropdown card. You tin can also make the rulers appear on the editor folio by pressing Shift and R together.
In-depth Guide on How to Testify Rulers in Canva
If y'all're a new Canva user, you'll probably notice the pink smart guides that pop upwards whenever you try to marshal certain elements of your design.
Past the style, these smart guides are 1 of the 10 reasons why Canva is then great . So, to learn what the other nine reasons are, and then go and read on.
But, aside from those nifty smart guides, Canva also incorporated rulers to assist its users further in creating professional person-looking designs.
After all, properly and evenly spaced elements provide a professional person feel to your design — regardless if y'all're a newbie or a veteran.

But, for you to fully enjoy it, y'all have to brand them appear on your editor page.
Step 1: Create a new blueprint by clicking on the Create a Blueprint button on the homepage.
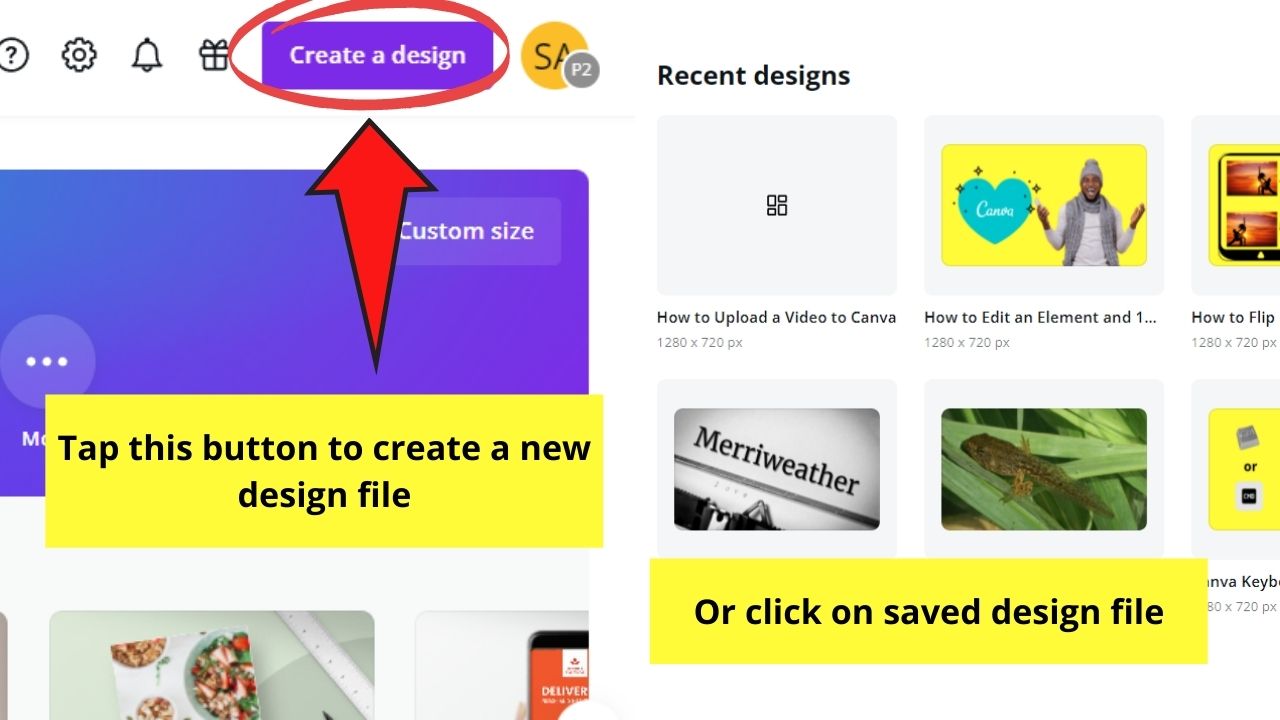
You can also open an existing file by heading over the All Designs menu on the left side menu.
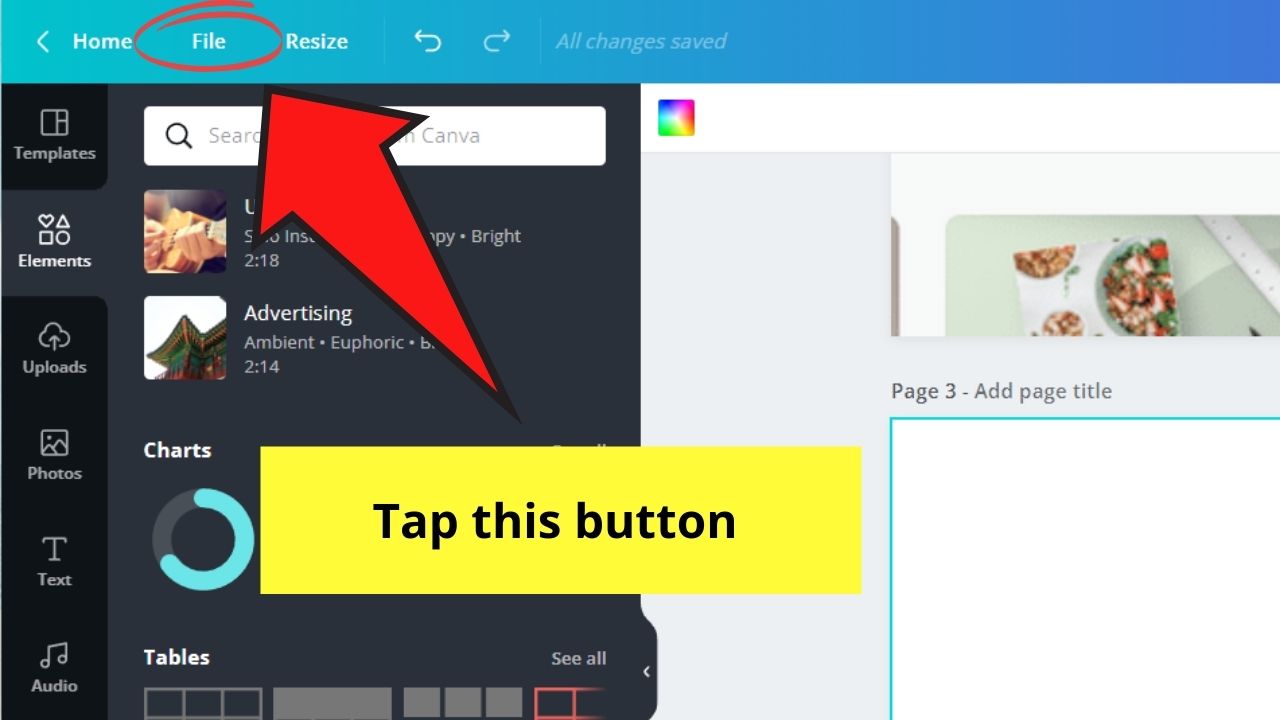
Step 2: Once y'all're on the editor page, caput to the carte bar and tap on File.
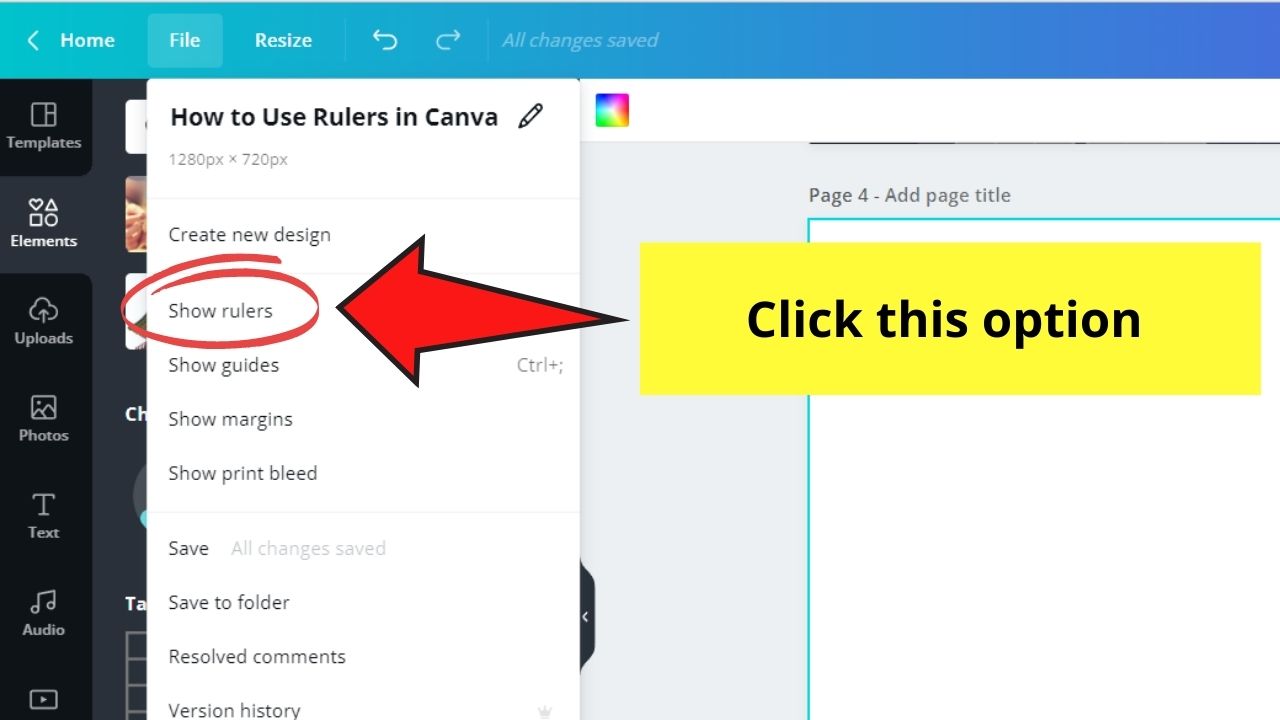
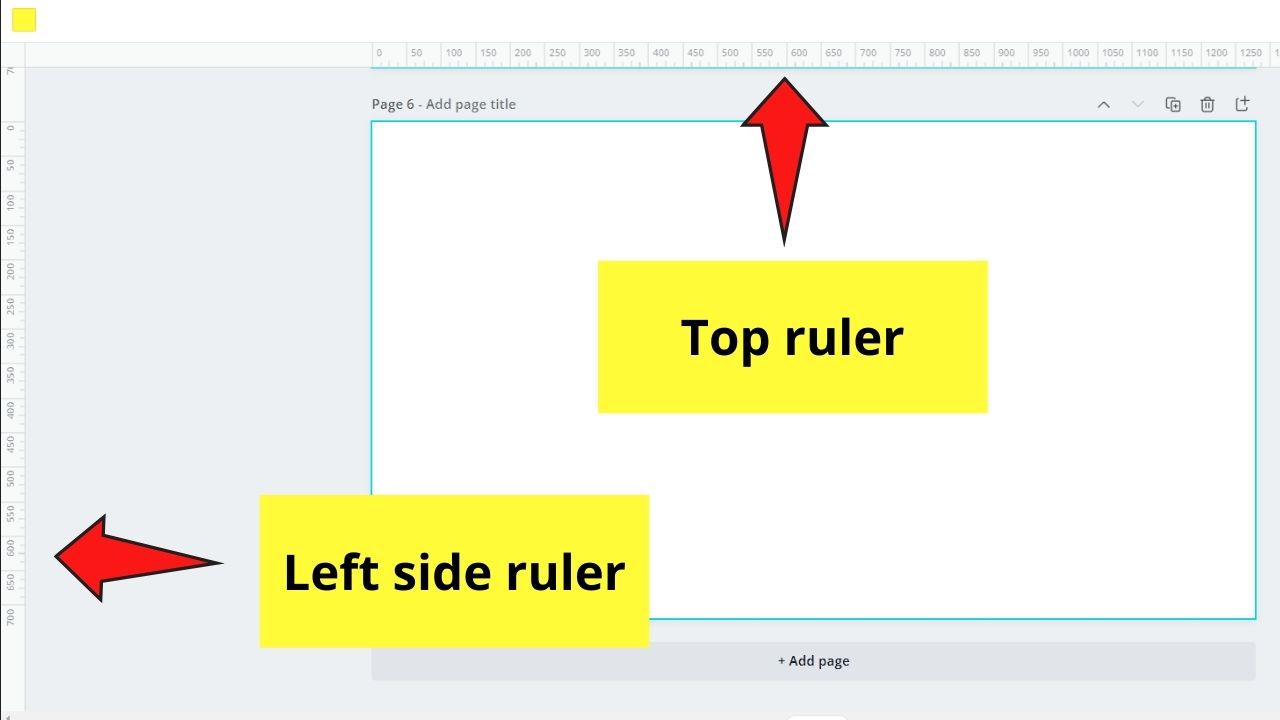
Step three: On the dropdown menu that appears, click on the Show Rulers pick. This will so make the rulers appear at the superlative and left side of your editor page.
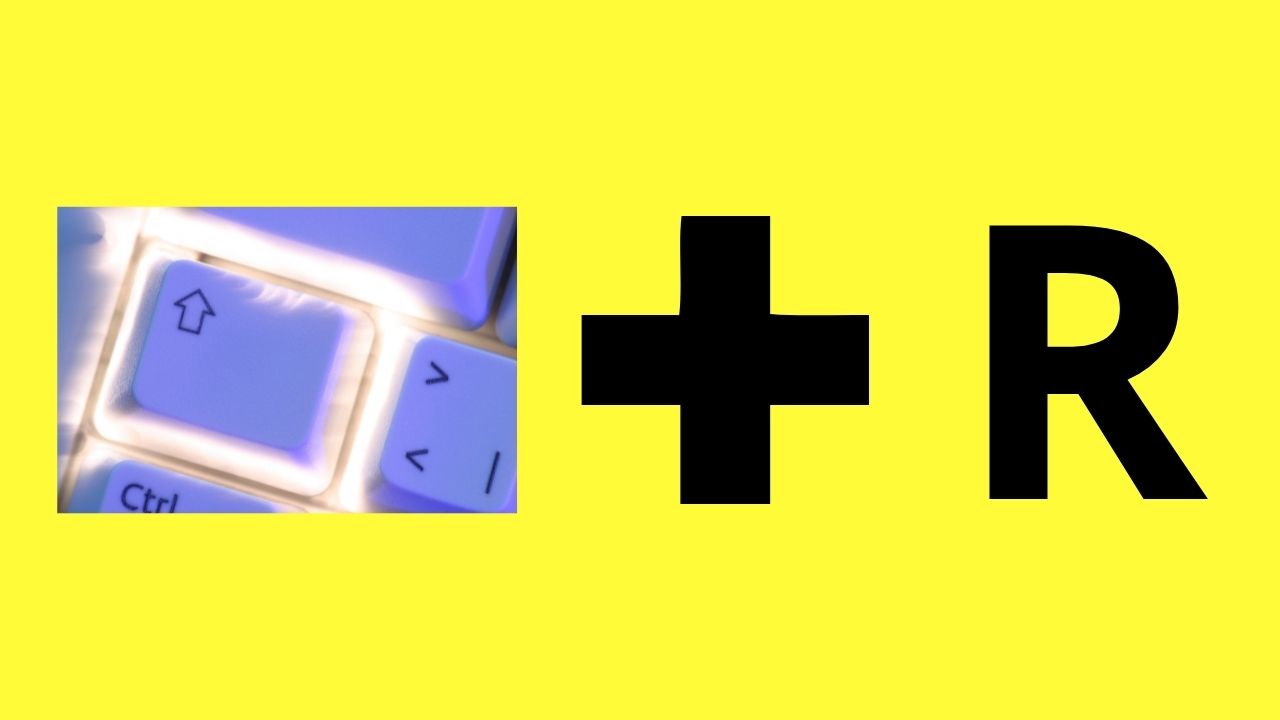
If you prefer using Canva keyboard shortcuts , then simply press Shift and R together to actuate the rulers feature.
The dimensions or measurements that volition appear on the ruler automatically match that of the measurements used for the document.
So, if your pattern uses the pixels dimension, the measurement on the ruler will also be in pixels.
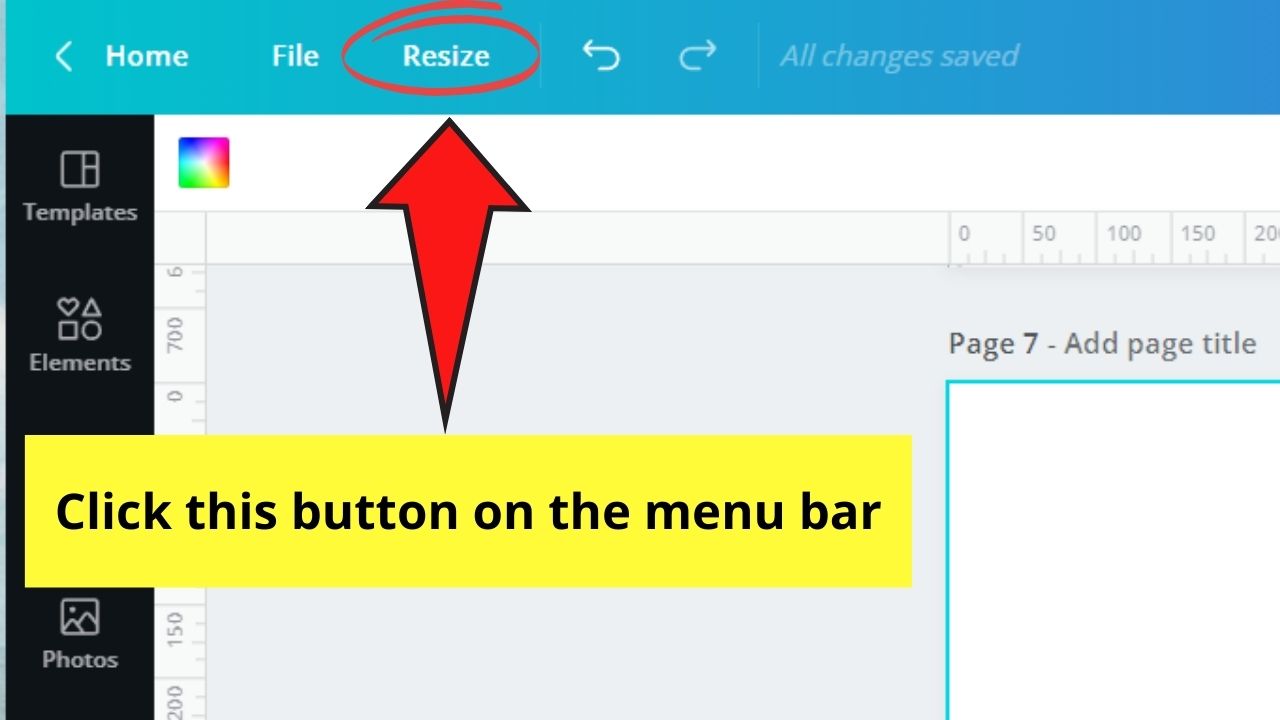
Stride 4: At present, if you lot want to change the dimensions used on the rulers, head back to the menu bar and tap on the Resize push button.
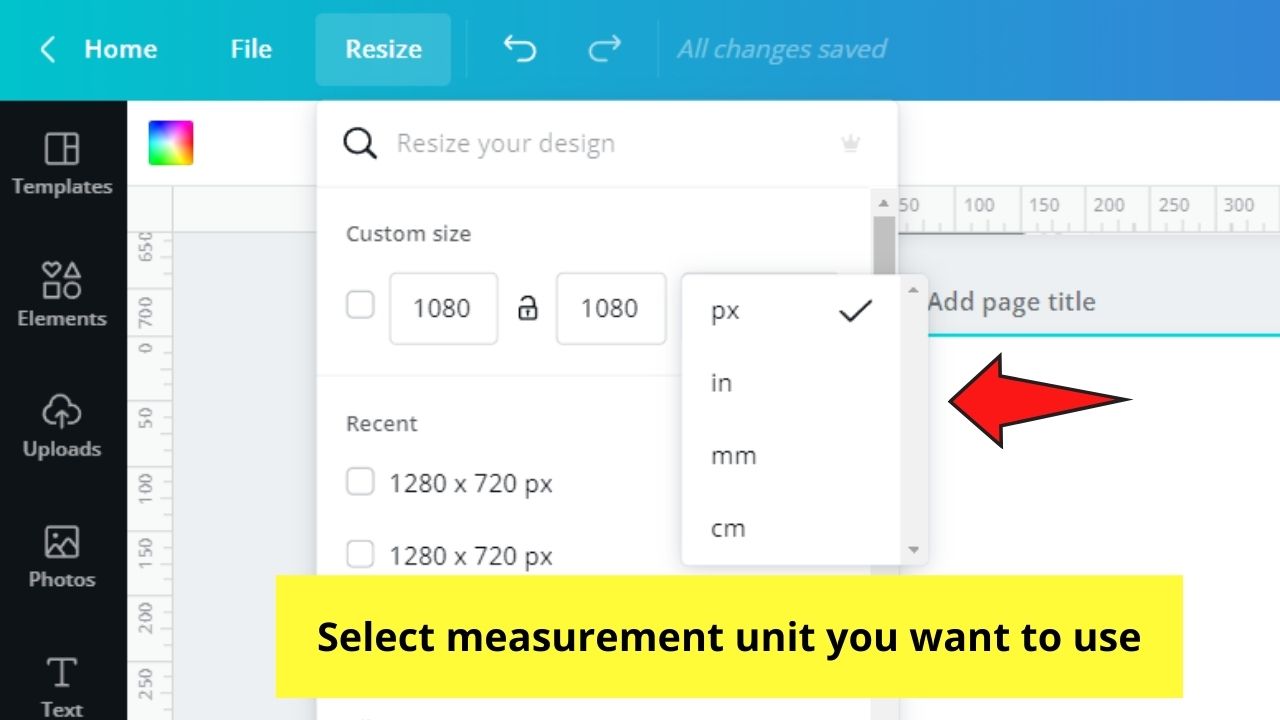
On the Resize dropdown carte, go to the Custom size department, but don't tick the box.
Instead, click on the dimensions box and tick the unit of measurement you prefer using.
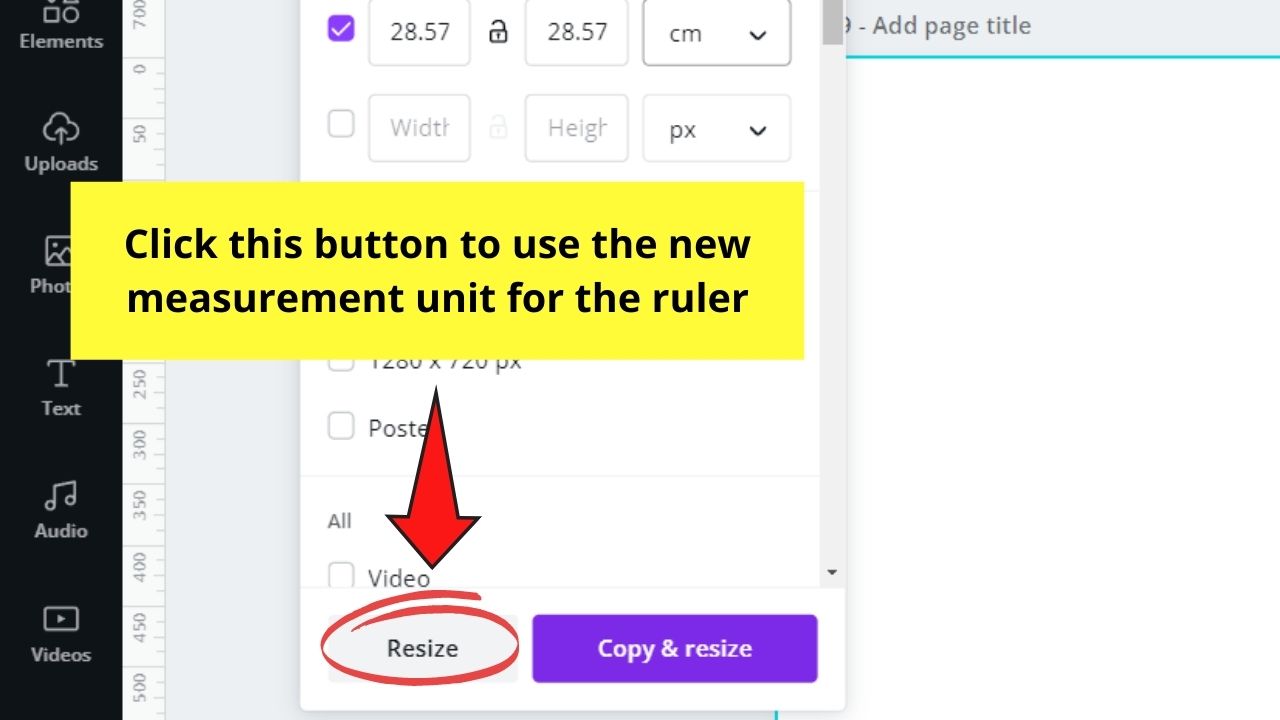
Tap information technology before clicking the Resize button at the end part of the same dropdown menu. This volition automatically change the units shown on the ruler.
And, there you have it! You've successfully shown the rulers on your project. But, how exactly can yous use those rulers in your design?
Don't worry, as that'due south what we're virtually to talk well-nigh below.
How to Use Rulers in Canva
One way you lot can use rulers in Canva is by using the grayness highlights as a guide for the element'south placement. Another fashion is to activate the guides and position them appropriately on the canvas for a more visible placement reminder for your design elements.
The Nuts on Using Rulers in Canva
Now that you've activated the rulers characteristic, it'southward time for you to use it.
Since you'll notice these rulers on a graphic blueprint tool, so it's self-explanatory that you lot'll use it to align diverse design elements on the canvas.
But, how exactly can you use these rulers in Canva?
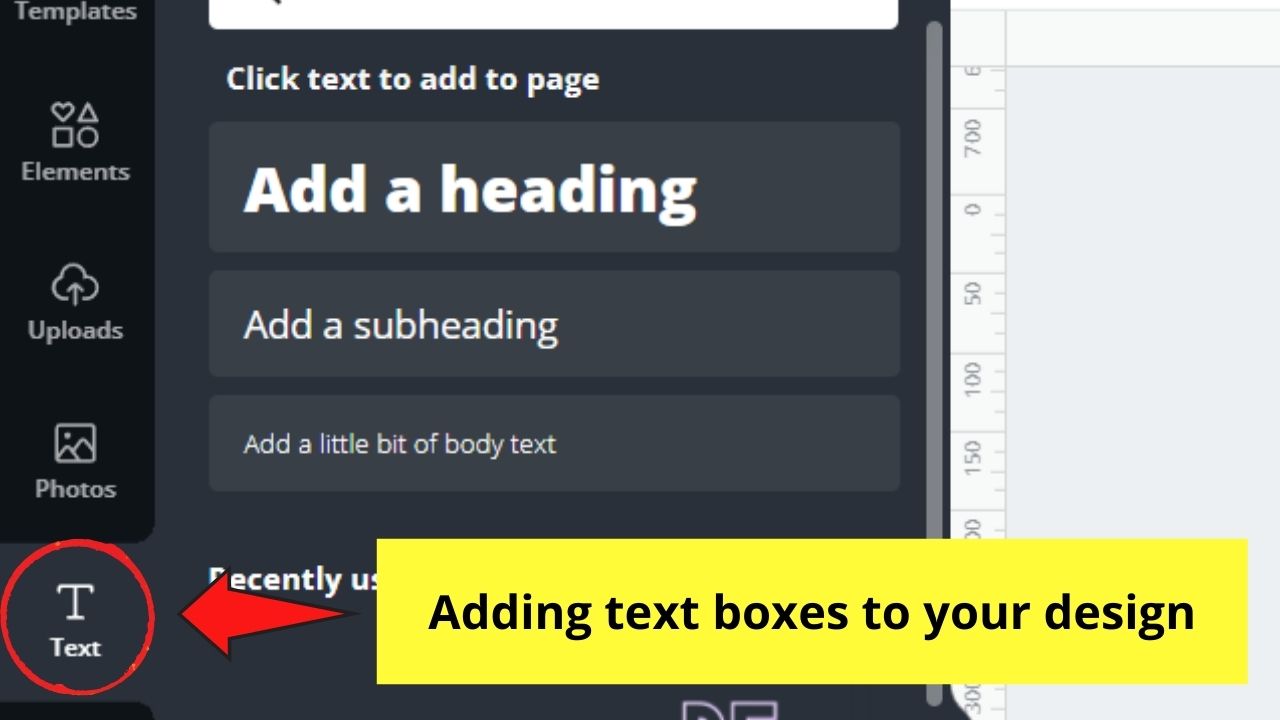
Step 1: Add a design element to your sheet past tapping on the Photos and Elements tabs on the left side console menu.

Add text boxes to your project by clicking on the Text tab or pressing the T button on your keyboard.
Step ii: Drag the design elements you've chosen to the sail.
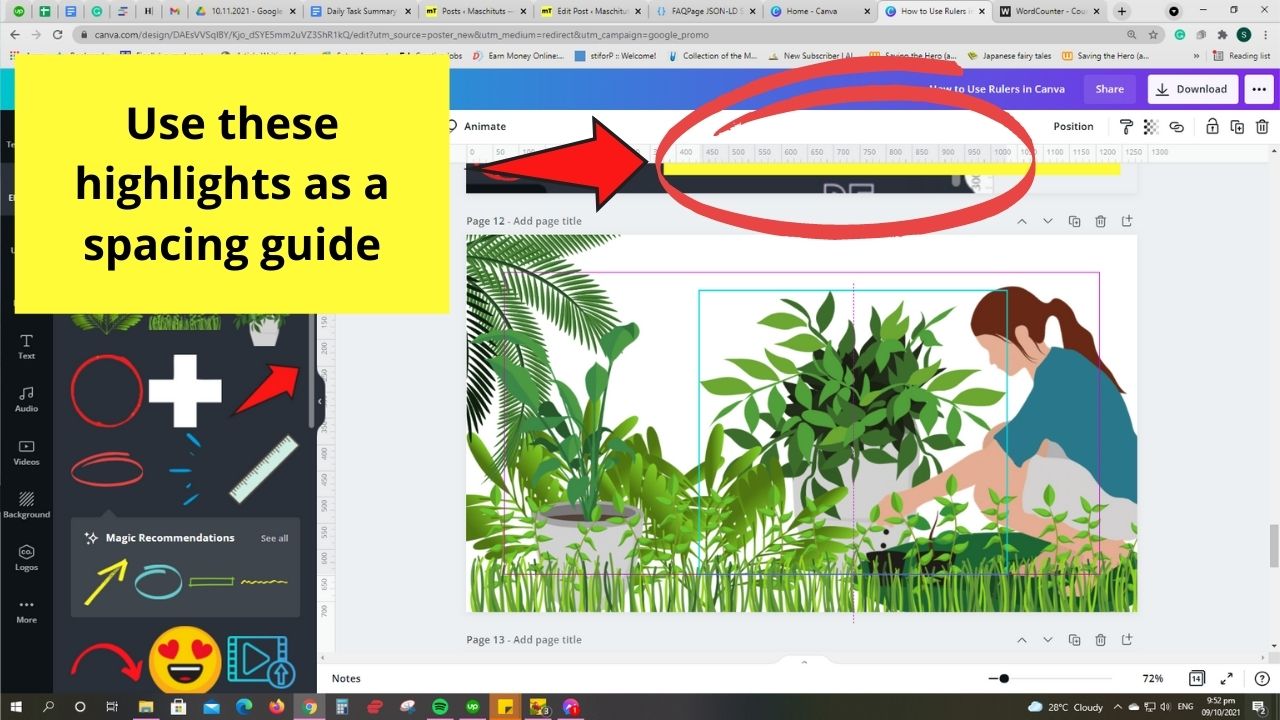
Yous'll and then notice the grey highlights that motility forth the ruler every time you drag the chemical element on the sheet.

If you're bothered why the greyness indicators appear, they basically show you the element's placement on the page in elevation and width.
Footstep three: Add more elements to your design while referring to the gray highlights on the ruler every bit your guide spacing them out evenly.
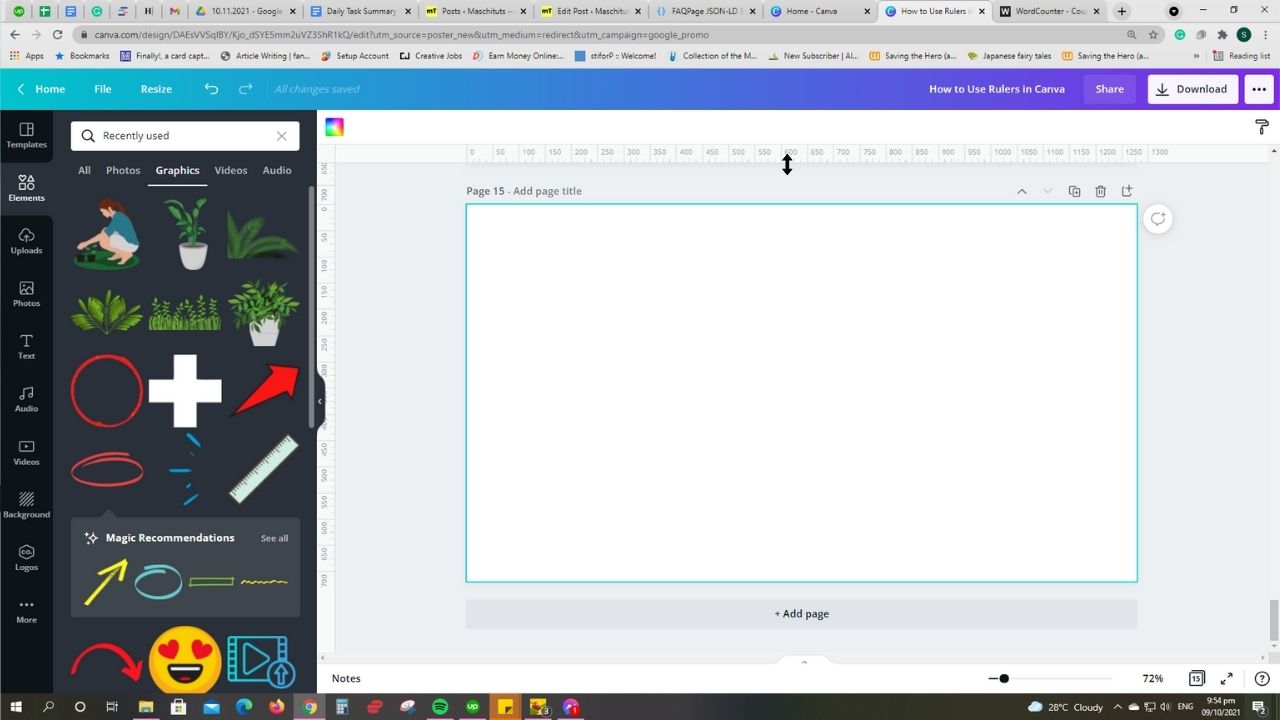
Footstep 4: Now, if you desire an even more authentic way of spacing your elements, actuate the guides characteristic. Just make sure rulers is turned on.
Now, move your mouse towards the top or left side ruler until the cursor turns into a 2-manner pointer icon.
Step v: After which, click and elevate down to create vertical or horizontal guides to where you lot desire to position them on the blueprint.
Stride 6: Once the guide'southward in the position where you want it on the canvas, let go of the mouse button to make it stay in identify.
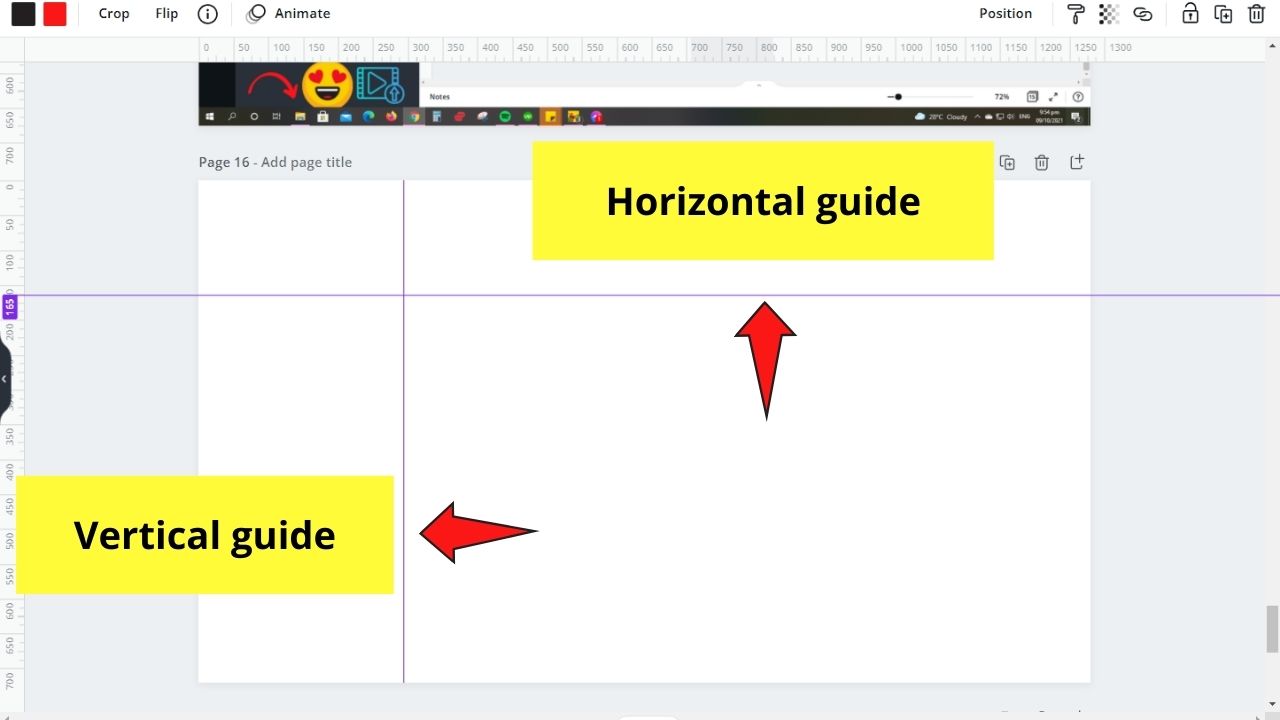
You'll and so see the irresolute numbers on the superlative part of the rulers. These serve to tell y'all the verbal location of the guide on the folio in real-time.
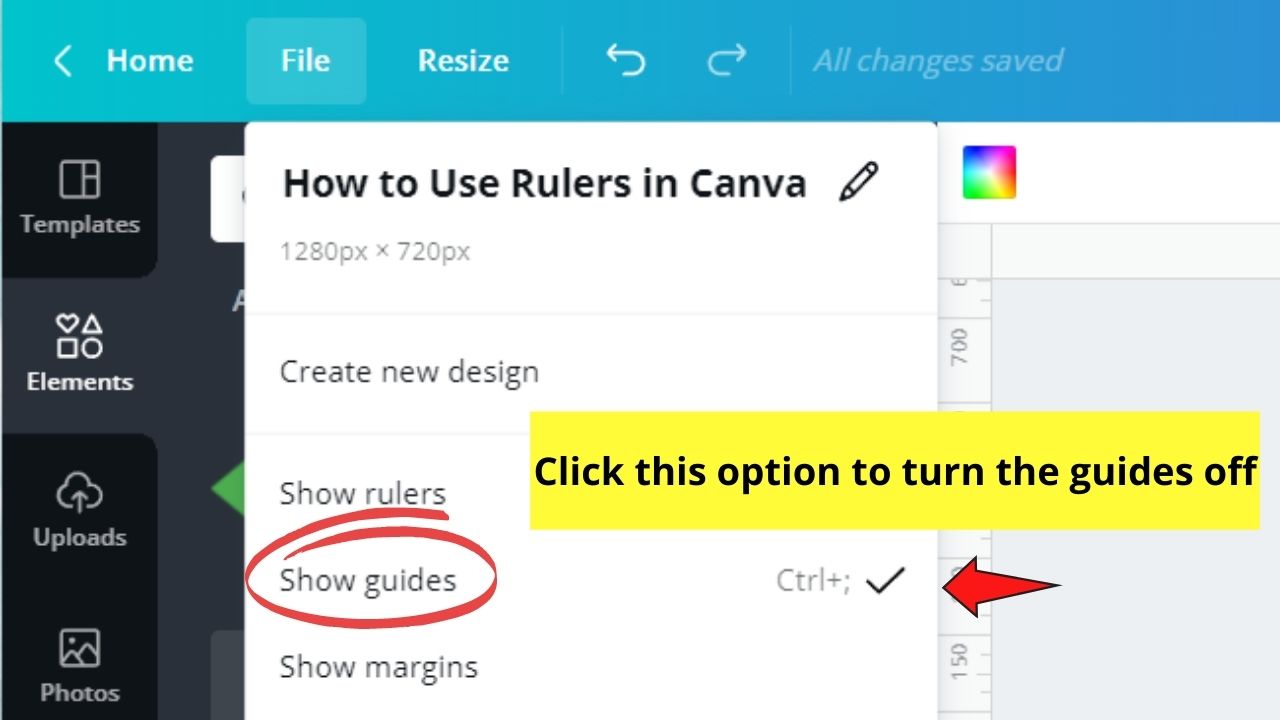
Repeat steps v to 6 until you've added enough guides on the folio. Yous tin can make them disappear temporarily by toggling the Show Guides selection on the File bill of fare.
And, one absurd matter about these guides is that once you brand them announced again, they stay in the exact same place where you left them.
Plus, you'll see them in the same position for every page of the blueprint.
Stride 7: At present, if you want to rid of the guides permanently, correct-click on any part of the canvass and select the Articulate guides option on the dropdown carte du jour.
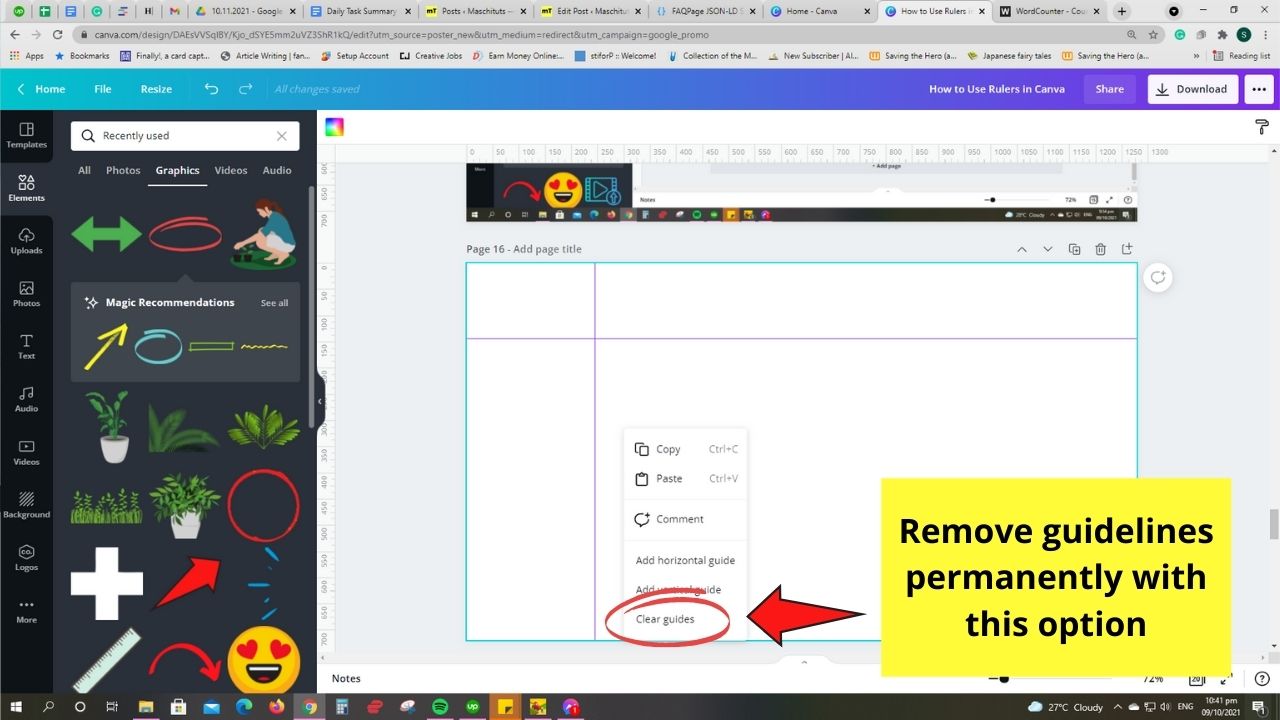
Only, a give-and-take of caution though. Once yous remove the guides from your blueprint, you lot cannot disengage them, fifty-fifty if you repeatedly click the Disengage button on the card bar.
And so, are you now prepare to plough Canva's rulers into your newest designing best friends?
Often Asked Questions about How to Employ Rulers in Canva
Can y'all use the rulers on Canva mobile?
While rulers on the Canva web version are nifty, you cannot relish them on the mobile version. We'll have to wait for the Canva team to put such a tool on the Canva app. But, you can use the smart guides to properly infinite your elements on the app.
Are the rulers in Canva bachelor to complimentary users of the graphic tool?
While other Canva features are exclusive to Canva Pro users, rulers are available for the costless Canva users as well.
Tin can yous customize the guides' location individually per page?
As of the moment, you cannot individually ready the guide's location differently per page. Where you positioned the guides on the previous page will exist the aforementioned on the next folio.
Is it possible to turn the rulers feature off without going through the File card?
Since in that location'south a keyboard shortcut for activating rulers in Canva, utilize the same keyboard shortcut to make them disappear. Press the Shift and R together to de-actuate the Canva rulers. Press both keys simultaneously to evidence the rulers once more.

Hey guys! It'due south me, Marcel, aka Maschi. On MaschiTuts, information technology'southward all about tutorials! No matter the topic of the article, the goal always remains the aforementioned: Providing yous guys with the virtually in-depth and helpful tutorials!
Source: https://maschituts.com/how-to-use-rulers-in-canva/
0 Response to "How To Add Rulers In Canva"
Post a Comment